

Getting new gutters installed is one of those home improvement projects that seems straightforward until you’re actually in the middle of it. There are material choices, measurements, slope calculations, and a crew showing up at your house with ladders and power tools. Knowing what to expect at each stage makes the whole process less stressful and helps you make smarter decisions along the way.
A proper gutter installation protects your home from water damage, shields your foundation, and keeps roof drainage flowing where it should. Done right, a new gutter system can last decades with minimal maintenance. Done poorly, it creates problems that cost far more to fix than the original job was worth. This guide walks you through every phase, from the first assessment to the final walk-through, so you know exactly what a quality installation looks like.
Understanding the Gutter Installation Process
Initial assessment, measurements, and planning
Before any material gets ordered or a single bracket goes up, a professional installer will assess your home’s roofline, fascia board condition, and existing drainage setup. They measure the total linear footage of gutters needed and identify where downspouts should be placed for optimal roof drainage.
This assessment also looks at the pitch of your roofline, the number of corners and angles involved, and whether any existing roof flashing needs attention before installation begins. These details directly affect both the complexity of the job and the final installation cost.
| Assessment Factor | Why It Matters |
|---|---|
| Linear footage | Determines material quantity and overall cost |
| Fascia board condition | Affects how securely gutters can be mounted |
| Downspout placement | Controls water flow away from the foundation |
| Roof pitch and angles | Influences gutter slope and drainage efficiency |
| Existing drainage issues | Identifies problems to address before installation |
If you want a detailed breakdown of what drives pricing, this guide on gutter installation cost and what to expect covers the key variables clearly.
Choosing materials, styles, and gutter system features
Gutter materials range from budget-friendly vinyl gutters to mid-range aluminum gutters to premium copper gutters. Each has different durability profiles, maintenance needs, and price points. Aluminum gutters remain the most popular choice for most homes because they balance cost, longevity, and ease of installation.
Seamless gutters are fabricated on-site using a roll-forming machine, which eliminates most of the joints where leaks typically start. Sectional gutters come in pre-cut gutter sections joined together with connectors and sealant application at each seam. Most professional installers recommend seamless gutters for their performance and cleaner appearance.
You will also choose a profile style, typically K-style or half-round, and decide whether to add gutter guards to reduce debris buildup and future gutter cleaning frequency.
Project timelines and what affects installation duration
A standard single-story home with straightforward rooflines can often be completed in a single day. Larger homes, complex rooflines, or multi-story properties extend the installation timeline considerably. The removal of old gutters, fascia repairs, and custom fabrication all add time to the schedule.
Weather is another factor. Rain, high winds, or freezing temperatures can delay or pause work for safety reasons. Your installer should give you a realistic window based on your specific project scope.
- Home size and total linear footage
- Number of stories and roof complexity
- Whether old gutters need removal first
- Fascia board repairs required before mounting
- Weather conditions on installation day
Preparing Your Home and Property
Site access, safety precautions, and protecting landscaping
The installation crew needs clear access around the perimeter of your home. Move vehicles out of the driveway and away from the house so ladders and equipment can be positioned safely. If you have flower beds, shrubs, or garden features close to the foundation, let your installer know in advance.
Most professional crews use standoff ladder brackets to avoid leaning directly against gutters or fascia boards during work. They should also lay down drop cloths or tarps near work areas to catch debris, old sealant, and metal shavings from cutting gutter sections.
Removal of old gutters and minor fascia or roofline repairs
If your home has existing gutters, they need to come down before new ones go up. This step often reveals hidden problems. Rotted fascia board sections, damaged roof flashing, or deteriorated wood behind old gutter hangers are common discoveries that need addressing before new gutters are mounted.
Skipping fascia repairs is one of the most common mistakes homeowners make when rushing a gutter installation. Mounting new gutters onto compromised wood leads to sagging, pulling, and eventual failure. Minor repairs done at this stage protect the entire investment.
Your installer should walk you through any discovered issues and explain what repairs are needed and why. This is also a good time to ask about foundation protection and whether your current downspout placement is adequate.
How homeowners can get ready before the crew arrives
A little preparation on your end makes the job go smoother and faster. Clear the area around your home’s perimeter of any furniture, decorations, or obstacles. Trim back any overhanging branches that could interfere with ladder placement or gutter access.
- Move patio furniture and outdoor décor away from the house
- Trim branches near the roofline if possible
- Ensure pets are secured indoors or away from the work area
- Confirm a point of contact is reachable if questions arise
- Review the project scope and materials list with your installer beforehand
Knowing the right questions to ask before work begins saves confusion later. Reviewing a list of questions to ask your gutter installer before hiring helps you go into the project with confidence and clear expectations.
What Happens During Actual Gutter Installation
Mounting brackets, setting slope, and attaching gutter sections
The installation crew starts by snapping a chalk line along the fascia board to establish the correct gutter pitch. Proper gutter slope is critical. Gutters need to drop slightly toward each downspout outlet, typically about a quarter inch for every ten feet of run, to ensure water flows freely rather than pooling.
Gutter hangers or gutter brackets are then fastened into the fascia board at regular intervals, usually every two feet. This spacing provides the structural support needed to handle the weight of water, debris, and occasional ice. Inadequate hanger spacing is a leading cause of sagging gutters over time.
For seamless gutters, the fabrication machine is typically parked in the driveway and the gutters are formed on-site to the exact length needed. Gutter sections are then lifted into position, secured to the brackets, and end caps are installed at each terminus.
Installing downspouts, outlets, and optional gutter guards
Once the main gutter runs are secured, the crew cuts outlet holes and installs downspout connectors at each planned drainage point. Downspouts are then measured, cut, and attached to the side of the home using straps or brackets, directing water away from the foundation.
Proper downspout placement is essential for foundation protection. Water that pools near the base of your home can cause serious structural damage over time. Extensions or underground drainage connections are sometimes added to move water even further from the house.
If gutter guards are part of the project, they are installed after the gutters are fully secured and tested. Gutter guards significantly reduce the frequency of gutter cleaning and are especially valuable for homes surrounded by trees.
Common installation mistakes to watch for
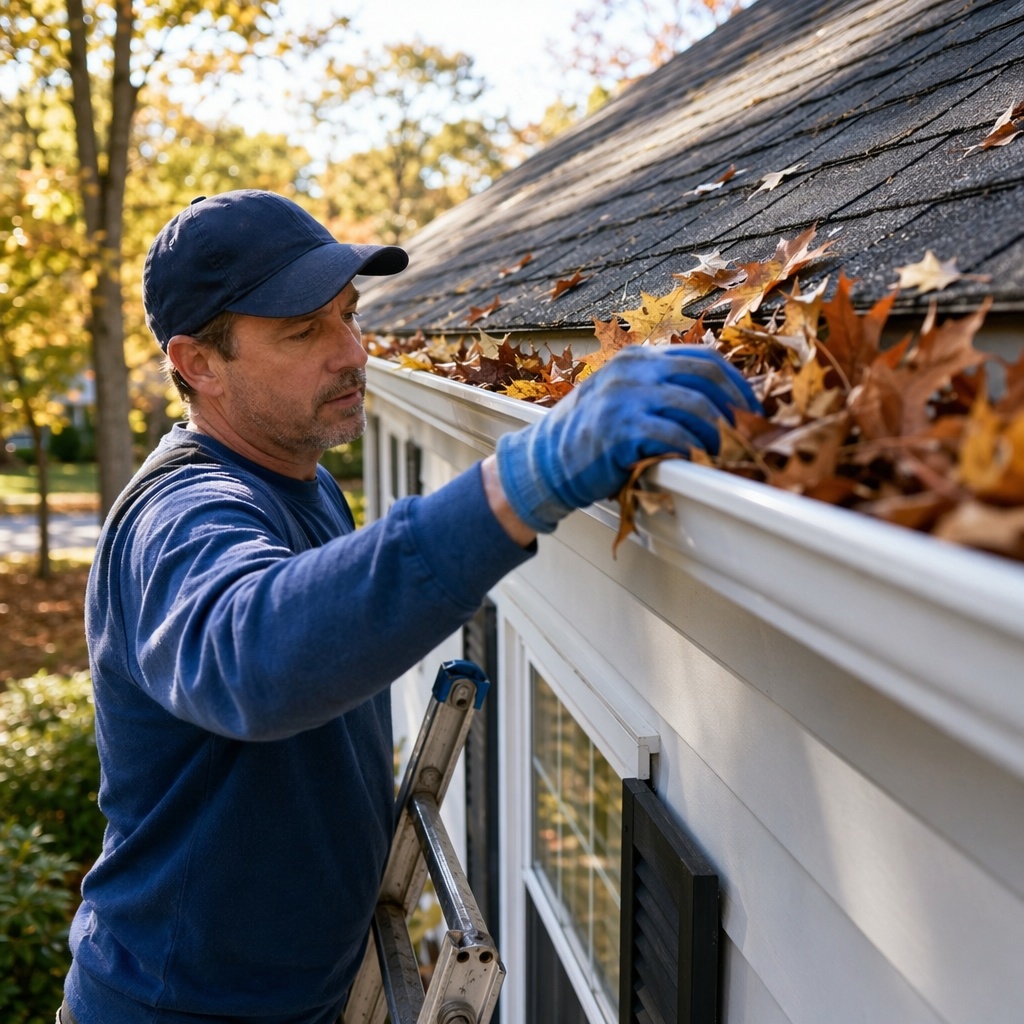
Even experienced crews can cut corners if not held accountable. Knowing what a quality installation looks like helps you catch problems before they become expensive repairs.
- Incorrect gutter pitch causing standing water inside the gutter
- Insufficient gutter hangers leading to sagging sections
- Poor sealant application at joints, corners, and end caps
- Downspouts placed too close to the foundation
- Gutters mounted too low, allowing water to run behind them
- Roof flashing not properly integrated with the new gutter system
A reputable professional installer will address these details without being asked. If you notice any of these issues during the job, speak up immediately rather than waiting until the crew has packed up and left.
Quality Checks, Cleanup, and Aftercare
Flow testing, final inspection, and walk-through with the installer
After all gutters and downspouts are in place, the crew should run water through the system to verify proper flow. This test confirms that the gutter slope is correct, that there are no leaks at seams or joints, and that water exits cleanly through each downspout without backing up.
Walk the perimeter of your home with the installer during this test. Watch where the water exits and confirm it is moving away from your foundation as intended. Check that end caps are sealed, that gutter sections sit flush against the fascia board, and that no gaps exist between the gutter back and the roofline.
This walk-through is your opportunity to ask questions and flag anything that does not look right before signing off on the job.
Jobsite cleanup, warranties, and documentation
A professional crew leaves your property in the same condition they found it, minus the old gutters. All removed materials, metal scraps, old sealant, and packaging should be hauled away or properly disposed of. Check the ground around your home for stray screws, metal shavings, or debris before the crew departs.
Ask for written documentation of everything before the crew leaves. This includes the warranty coverage on both materials and labor, a copy of the final invoice, and any product specifications for the gutter materials installed. Warranty coverage varies significantly between manufacturers and installers, so understanding what is covered and for how long matters.
Maintenance tips and signs of a successful installation
A well-installed gutter system requires minimal attention but does need periodic gutter cleaning to stay functional. Depending on your tree coverage, cleaning once or twice per season is typically sufficient. Gutter guards reduce this frequency but do not eliminate it entirely.
Signs that your installation was done correctly include gutters that sit level and flush, no visible sagging between hangers, clean water flow during rain, and no dripping or leaking at seams. Water should exit downspouts cleanly and drain away from the foundation without pooling.
- Inspect gutters after major storms for debris buildup or damage
- Check downspout connections annually for loosening or separation
- Look for rust, peeling, or sealant failure at joints each season
- Ensure downspout extensions remain properly positioned
Conclusion
A gutter installation done right is an investment that protects your home for years without demanding much in return. Understanding each phase of the process, from the initial assessment through the final flow test, puts you in a position to work effectively with your installer and recognize quality work when you see it.
The difference between a gutter system that performs well and one that fails early often comes down to the details: proper slope, adequate hanger spacing, solid sealant application, and correctly positioned downspouts. Choosing a qualified professional installer and staying engaged throughout the project gives your home the protection it deserves.
FAQ
How long does professional gutter installation usually take?
Most residential gutter installations are completed in one day. Larger homes, complex rooflines, or projects requiring significant fascia repairs may take two days. For a more detailed breakdown, this resource on how long gutter installation takes explains the variables that affect your specific timeline.
Do I need to be home during gutter installation?
You do not need to be present for the entire installation, but being available at the start and end of the job is strongly recommended. The initial walk-through helps confirm placement details, and the final inspection gives you a chance to review the completed work and ask questions before the crew leaves.
What should I check after the installer finishes the job?
Walk the full perimeter of your home and inspect gutter alignment, downspout positioning, and all sealed joints. Run water through the system if the crew has not already done so. Confirm that water exits cleanly through downspouts and moves away from your foundation. Review all warranty documentation and keep copies in a safe place for future reference.