
Sagging gutters are one of those home maintenance problems that sneak up on you. One season everything looks fine, and the next you notice a section drooping away from the roofline, holding standing water, or pulling the fascia board along with it. It looks minor, but left alone, it can lead to serious water damage, foundation damage, and costly repairs down the road.
The good news is that most sagging gutters can be fixed in a single afternoon with basic tools and a little know-how. DIY gutter repair is well within reach for most homeowners, and getting it done quickly protects your home from the kind of roof drainage failures that cause real structural harm. This guide walks you through everything from diagnosis to final testing, so you can get your gutters level, secure, and flowing properly again.
Understanding Why Gutters Sag
Before you grab a ladder, it helps to understand what actually causes gutters to lose their shape and pull away from the house. Sagging gutters are almost always a symptom of something else going wrong, and fixing the symptom without addressing the cause means you will be back up on that ladder again sooner than you want.
Common causes of sagging gutters
The most frequent culprit is failed gutter hangers or gutter spikes that have worked loose over time. Wood expands and contracts with temperature changes, and gutter nails gradually pull out of the fascia board, leaving sections unsupported. Clogged gutters are another major cause. When debris builds up and water pools inside the channel, the added weight stresses every hanger and bracket holding the system in place.
| Cause | Affected Component | Severity |
|---|---|---|
| Failed gutter spikes | Fascia board, gutter hangers | Moderate |
| Clogged gutters | Gutter sections, supports | Moderate to High |
| Rotted fascia | Fascia board, gutter brackets | High |
| Ice and snow load | Gutter hangers, alignment | High |
| Improper gutter slope | Entire gutter run | Moderate |
Warning signs and potential damage to your home
Visible sagging is the obvious sign, but there are subtler warnings worth watching for. Water pooling inside the gutter channel after rain, streaks of dirt running down your siding, and water dripping behind the gutter rather than through the downspout all point to gutter alignment problems. Foundation damage can develop when water consistently spills near the base of your home instead of being directed away through proper roof drainage.
Check your fascia board for soft spots, discoloration, or paint bubbling. These indicate moisture has been sitting against the wood, which accelerates rot and makes the entire gutter system unstable.
When you can DIY and when to call a professional
Most gutter repair jobs involving loose hangers, minor sagging, or improper gutter pitch are straightforward DIY projects. If the fascia board is severely rotted, if multiple gutter sections are damaged, or if the problem spans a large portion of your roofline, a professional assessment makes more sense. Gutter replacement may be more cost-effective than repeated repairs on a system that has simply reached the end of its life.
Tools, Materials, and Safety Preparation
Getting organized before you climb up saves time and reduces the risk of mistakes. A well-prepared repair goes faster and produces better results.
Essential tools and hardware for gutter repair
You do not need a truck full of equipment for most gutter repair jobs. Here is what to gather before you start:
- Extension ladder with stabilizer arms
- Drill with screwdriver bits
- Tape measure and chalk line
- Pry bar or nail puller
- Gutter sealant or silicone caulk
- Replacement gutter hangers and gutter screws
- Level or string line
- Safety glasses and work gloves
Selecting the right hangers, spikes, and fasteners
Hidden gutter hangers with screws are the gold standard for modern gutter installation. They grip the inside of the gutter channel and screw directly into the fascia board, providing far more holding power than old-style gutter spikes. Gutter screws are threaded and resist pull-out much better than smooth gutter nails. If you are replacing spikes, use screws that are long enough to reach solid wood behind the fascia, typically at least two and a half inches.
Gutter brackets that strap around the outside of the gutter are another solid option, especially for heavier aluminum or steel gutter sections. Match your hardware to your gutter material and size.
Ladder safety and working safely around the roofline
Ladder safety is non-negotiable. Set your ladder on firm, level ground and use a standoff stabilizer to keep it away from the gutter itself, since resting a ladder directly on the gutter channel will bend and damage it. Never overreach to either side. Move the ladder frequently rather than stretching. If you want to avoid ladder work altogether, there are methods for maintaining gutters without climbing that work well for routine tasks.
Wear rubber-soled shoes and avoid working in wet or windy conditions. Have someone nearby when possible, especially if you are working at significant height.
Step-by-Step: How to Fix Sagging Gutters
With your tools ready and safety covered, you can move through the repair systematically. Working from one end of the gutter run to the other keeps things organized and ensures you do not miss any problem areas.
Inspecting the gutter run and marking low spots
Walk the length of the gutter and look for visible dips, separations from the fascia, and areas where debris or standing water has collected. Use a marker or tape to flag every low spot and every hanger location that looks loose or failed. This gives you a clear picture of the scope of work before you start pulling anything apart.
Removing old spikes, brackets, and damaged sections
Use a pry bar to pull out old gutter spikes carefully. If the gutter nails have left oversized holes in the fascia board, you will need to address those before installing new fasteners. Screws driven into the same hole will not hold. Offset your new gutter screws by a few inches to hit fresh wood. Remove any gutter brackets that are bent, cracked, or corroded beyond use.
Re-sloping gutters for proper water flow
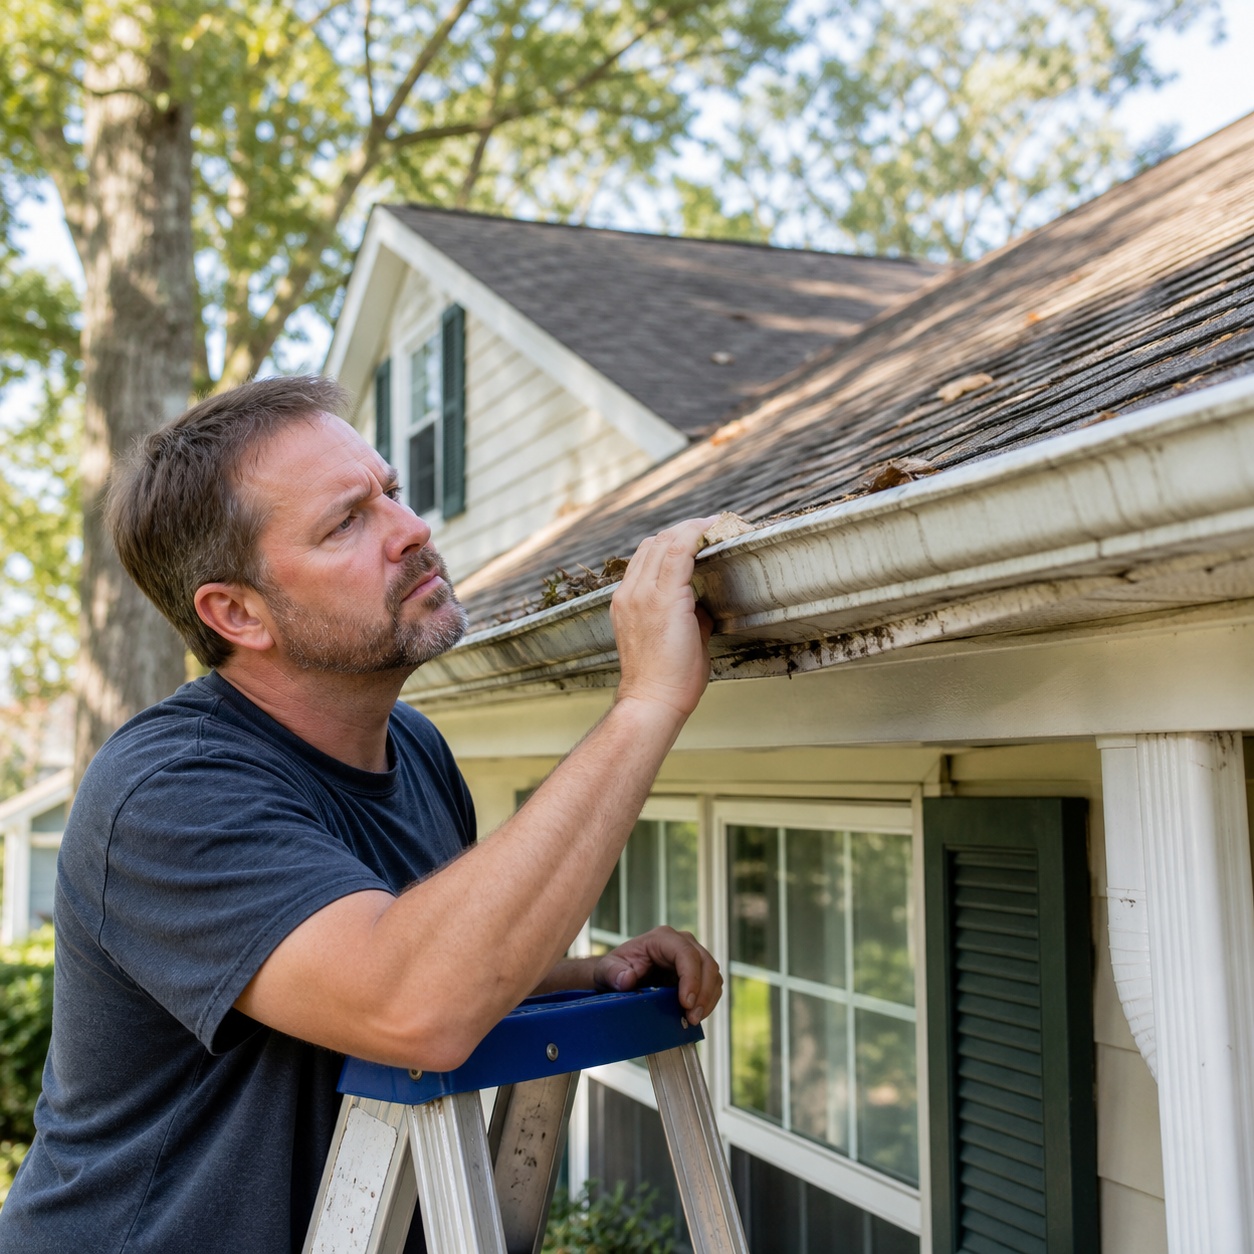
Proper gutter slope is critical. The standard gutter pitch is a quarter inch of drop for every ten feet of gutter run, directing water toward the downspout. Snap a chalk line from the high end to the downspout end to establish your target slope. Every hanger you install should position the gutter along that line. Getting the gutter pitch right prevents water pooling and reduces the weight load that causes future sagging.
Installing new hangers and reinforcing weak sections
Install new hidden gutter hangers every two feet along the gutter run. In areas prone to heavy snow or ice, spacing them closer together at eighteen inches adds extra gutter support. Drive gutter screws through the hanger, through the front of the gutter, and into the fascia board at a slight downward angle. This angle helps resist the outward pull that develops when the gutter fills with water and debris.
Securing gutters to fascia and checking for rot
Before finalizing any fasteners, press firmly on the fascia board along the entire run. Soft or spongy spots indicate rot that needs to be addressed. Screwing into rotted wood gives you nothing to hold against, and the repair will fail quickly. Minor rot can sometimes be stabilized with wood hardener, but significant decay means replacing the fascia section before proceeding with gutter installation. If you are planning a larger project, reviewing how to prepare your home for gutter installation gives you a solid framework for tackling fascia and structural issues before new gutters go up.
Sealing joints, end caps, and downspout connections
Apply gutter sealant to all interior joints, end caps, and the connection point where the downspout meets the gutter outlet. Work from inside the gutter channel for the best seal. Smooth the sealant with a gloved finger and allow it to cure fully before testing. Leaking joints undermine the entire repair by allowing water to escape where it should not, contributing to fascia rot and water damage along the foundation.
Testing the repair with water and fine-tuning the pitch
Run a garden hose into the high end of the gutter and watch how water moves. It should flow steadily toward the downspout without pooling anywhere along the run. If you spot a low area where water hesitates, adjust the nearest hanger slightly to correct the gutter alignment. This testing step is worth the extra few minutes because it confirms the repair is working before you pack up your tools.
Preventing Gutters From Sagging Again
A good repair buys you time, but ongoing maintenance is what keeps gutters performing well for the long haul. A few simple habits make a significant difference.
Regular cleaning and maintenance schedule
Clogged gutters are the fastest path back to sagging. Debris accumulation adds weight, traps moisture, and accelerates corrosion in metal gutter sections. Cleaning twice a year is the baseline recommendation for most homes, though trees nearby may require more frequent attention. For a detailed approach to staying on top of this, understanding how often gutters need cleaning based on your specific environment helps you build a realistic schedule. Keeping gutters clear is the single most effective thing you can do to extend their life.
Adding gutter guards and downspout extensions
Gutter guards reduce the frequency of cleaning by blocking leaves and large debris from entering the channel. They are not maintenance-free, but they significantly cut down on the buildup that leads to clogged gutters and water pooling. Downspout extensions direct water further away from your foundation, reducing the risk of foundation damage and soil erosion near the base of your home. Both are relatively inexpensive upgrades that pay off quickly.
Handling heavy rain, ice, and debris loads
Ice is particularly hard on gutter hangers and gutter brackets. When water freezes inside the channel, it expands and pushes outward, stressing every fastener in the system. Installing heat cables in problem areas can prevent ice dams from forming. After major storms, do a quick visual check of the gutter run to catch any new sagging or separation before it worsens. Addressing small issues early keeps them from becoming expensive repairs.
Conclusion
Sagging gutters are fixable, and fixing them promptly protects your home from water damage, foundation damage, and fascia rot that compounds over time. The process is straightforward: identify the cause, gather the right tools and hardware, re-establish proper gutter slope, install quality gutter hangers, and test the result. Staying on top of gutter cleaning and doing periodic inspections keeps the system working the way it should. A well-maintained gutter system is one of the most cost-effective ways to protect your home’s structure for years to come.
FAQ
How do I know if my sagging gutters need to be replaced instead of repaired?
If the gutter sections are cracked, heavily corroded, or pulling away from the fascia along most of their length, gutter replacement is likely more practical than repair. Seamless gutters, in particular, have a long service life when properly maintained. Reviewing how long seamless gutters typically last can help you decide whether repair or full replacement makes more financial sense for your situation. A single sagging section with otherwise sound gutters is almost always worth repairing.
Can I fix sagging gutters without removing them completely?
Yes, in most cases. If the gutter channel itself is undamaged and the fascia board is solid, you can re-hang the existing gutters using new gutter hangers and gutter screws without taking the system down. You will need to remove old spikes and reposition the gutter along the correct slope, but full removal is rarely necessary for a standard sagging gutter repair.
What is the correct slope for gutters so they drain properly?
The standard gutter pitch is a quarter inch of drop for every ten feet of horizontal run, sloping toward the downspout. This gutter slope is gentle enough to be nearly invisible from the ground but steep enough to keep water moving rather than pooling. If your gutter run is very long, consider adding a second downspout at the center and sloping both halves toward their respective outlets for better roof drainage performance.