

Leaking gutters are one of those home problems that seem minor at first but quietly cause serious damage over time. Water spilling over the sides or dripping from joints can saturate your fascia board, rot your soffits, erode your foundation, and create conditions for mold growth inside your walls. The good news is that most gutter leaks are fixable without calling a contractor, as long as you know what you’re looking for and how to address it properly.
This guide walks you through everything from diagnosing the source of the leak to making lasting repairs and setting up a maintenance routine that keeps problems from coming back. Whether you’re dealing with a single dripping seam or a gutter system that seems to fail every season, the approach is the same: find the root cause, fix it correctly, and protect it going forward.
Skipping steps or applying a quick patch without understanding why the leak happened is how homeowners end up on the ladder every few months doing the same repair. Take the time to do this right, and your gutters will stay watertight for years.
Understanding Why Gutters Leak
Common leak locations and what they reveal
Leaks don’t appear randomly. Where water escapes from your gutters tells you a lot about what’s actually wrong with the system. A drip at a seam usually points to sealant failure. Water pouring over the front edge suggests a clog or slope problem. Leaks near the roofline often involve flashing issues rather than the gutter itself.
Knowing the location of the leak is the first step toward choosing the right fix. Misdiagnosing the source wastes time and money on repairs that won’t hold.
| Leak Location | Likely Cause | Typical Fix |
|---|---|---|
| Gutter seams and joints | Failed caulk or sealant | Reapply gutter sealant |
| End caps | Cracked or loose cap | Reseal or replace cap |
| Bottom of gutter | Holes, rust, or corrosion | Patching with repair kit |
| Overflow at front edge | Clog or incorrect slope | Clean and realign |
| Near downspout connection | Loose fitting or blockage | Reseal or clear blockage |
| Along roofline | Flashing failure or gap | Repair or replace flashing |
Main causes: clogs, damage, poor slope, and seal failures
Clogs are the most common culprit. When debris blocks water flow, it backs up and finds any weak point to escape through. Over time, standing water accelerates rust and corrosion in aluminum and steel gutters, creating holes and cracks that worsen with every rain.
Seal failures happen naturally as sealant ages and becomes brittle. Gutter seams, corners, and end caps all rely on caulk or silicone to stay watertight, and that material breaks down with temperature changes and UV exposure.
Poor slope is a less obvious but equally damaging problem. Gutters need a slight downward pitch toward the downspout to drain properly. When hangers loosen or sections sag, water pools and sits, which leads to leaks, overflow, and long-term water damage to your fascia board and foundation.
Safety checks and tools to gather before you start
Before climbing a ladder, check that it’s rated for your weight and positioned on stable, level ground. Never lean a ladder against the gutter itself, as this can bend or crack the channel.
Gather these tools and materials before starting:
- Sturdy extension ladder with standoff arms
- Work gloves and safety glasses
- Garden hose with spray nozzle
- Gutter sealant or silicone caulk
- Putty knife and wire brush
- Gutter patching kit for holes and cracks
- Replacement hangers if needed
- Bucket and trowel for debris removal
Having everything ready before you go up saves trips and keeps you focused on the task.
Step-by-Step Inspection and Diagnosis
How to safely access and visually inspect your gutters
Start your inspection on a dry day so you can clearly see staining, rust, and physical damage without water obscuring the details. Work in sections, moving the ladder every few feet rather than reaching too far to one side.
Look for visible cracks, holes, separated seams, and areas where the gutter has pulled away from the fascia board. Check the roofline and flashing where the gutter meets the roof edge, since gaps there allow water to run behind the gutter entirely. If you prefer to stay off the ladder, there are effective methods for inspecting and maintaining gutters without climbing that work well for initial assessments.
Testing for leaks with a garden hose
A garden hose test is the most reliable way to find leaks that aren’t visible during a dry inspection. Run water into the gutter at the end farthest from the downspout and watch carefully as it flows toward the outlet.
Have a helper on the ground watching for drips while you control the hose from the ladder. Mark any leak points with chalk or tape so you can return to them with the right repair materials.
Pay attention to how quickly water drains. Slow drainage or pooling indicates a slope problem or partial blockage even if you don’t see an obvious leak.
Identifying specific problems: joints, holes, overflow, and downspouts
Joints and seams are the most frequent failure points in sectional gutters. Look for dark staining or mineral deposits below these areas, which indicate long-term dripping.
Holes and cracks are often found in older aluminum or vinyl gutters that have experienced rust, impact damage, or freeze-thaw cycles. Even small pinholes allow enough water through to damage the fascia board below over time.
Overflow issues are usually caused by clogs, but they can also result from a downspout that’s too small for the roof area it drains. Check that the downspout connection is clear and that water exits freely at the bottom.
How to Fix the Most Common Gutter Leaks
Cleaning out debris and flushing the system
No repair will hold if the gutter is still clogged. Start every repair job by removing all leaves, twigs, and compacted debris by hand or with a trowel. For a thorough walkthrough of this process, follow a step-by-step guide to cleaning gutters safely before moving on to any patching or sealing work.
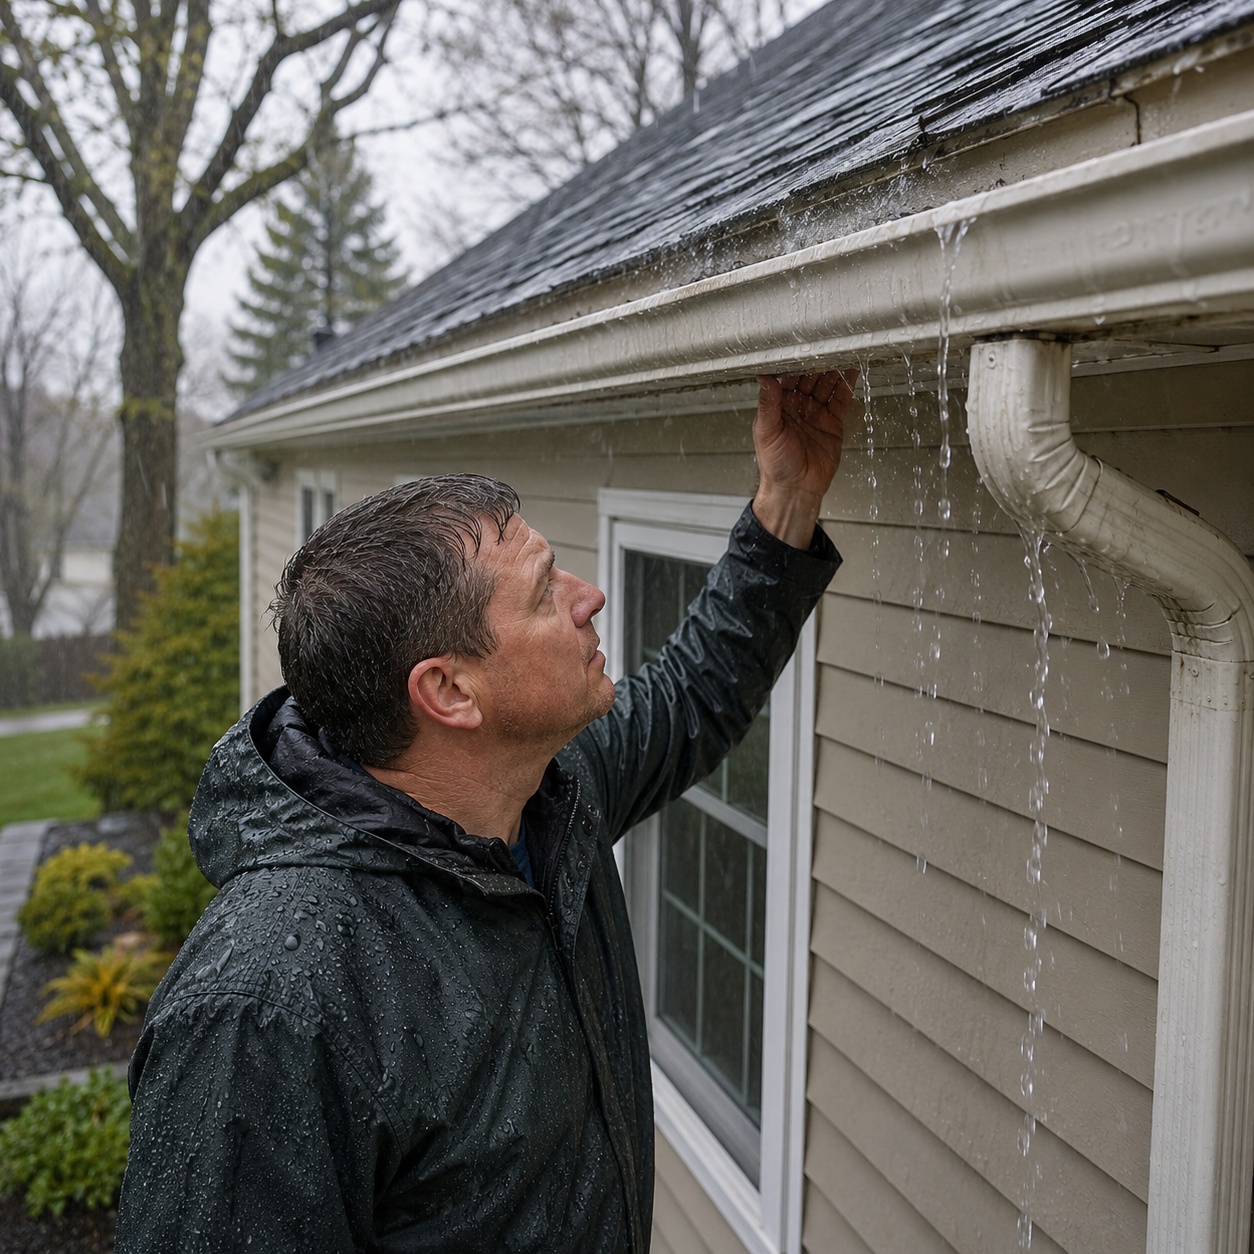
After clearing debris, flush the entire system with a garden hose. This removes fine sediment, confirms drainage is working, and reveals any remaining leak points you may have missed during the visual inspection.
Sealing seams, corners, and end caps
Resealing is the most common gutter repair. Start by scraping out all old caulk with a putty knife and scrubbing the area clean with a wire brush. The surface must be completely dry before applying new sealant.
Apply a generous bead of gutter-specific silicone sealant or butyl rubber caulk along the inside of the seam, corner, or end cap. Smooth it with your finger or a putty knife to ensure full contact with both surfaces.
- Use gutter sealant rated for outdoor and waterproofing applications
- Apply from the inside of the gutter for the most durable bond
- Allow full cure time before testing with water
- Check end caps on both sides of every gutter run
Repairing holes, cracks, and minor corrosion
Small holes and cracks can be repaired with a patching kit designed for aluminum or vinyl gutters. Clean the damaged area thoroughly, removing any rust with a wire brush and wiping away dust and moisture.
Apply roofing cement or gutter repair sealant over the hole, then press a piece of metal flashing or fiberglass mesh patch into the wet compound. Smooth another layer of sealant over the top and feather the edges so water flows over it without catching.
For rust damage, treat the corroded area with a rust converter before patching to stop further deterioration. Skipping this step means the rust continues spreading under your repair.
Realigning sagging sections and correcting slope
Sagging gutters don’t drain properly, and standing water is a guaranteed path to more leaks. The fix involves replacing or repositioning the hangers that hold the gutter to the fascia board.
Gutters should slope approximately a quarter inch for every ten feet of run toward the downspout. Use a level and measuring tape to check the current pitch before adding or repositioning hangers. For detailed guidance on this repair, the process of fixing sagging gutters and restoring proper level covers hanger replacement and slope correction thoroughly.
Replace any bent or missing hangers with new spike-and-ferrule or hidden hanger systems. Space them no more than two feet apart to prevent future sagging.
Fixing leaks at the downspouts and connections
Downspout connections leak when the fitting separates from the gutter outlet or when the joint sealant fails. Disconnect the downspout from the outlet, clean both surfaces, and apply fresh silicone sealant before reconnecting.
If the downspout itself is clogged, water backs up and overflows at the connection point. Use a plumber’s snake or high-pressure hose attachment to clear blockages from the top down.
Check that the downspout is secured tightly to the wall with brackets and that the bottom extension directs water at least four feet away from the foundation. Improper drainage at ground level causes foundation erosion even when the gutters themselves are working correctly.
Preventing Future Gutter Leaks
Simple maintenance schedule for long-lasting gutters
Consistent maintenance is what separates gutters that last decades from ones that need constant repair. Clean your gutters at minimum twice per year, once after spring pollen and seed season and once after the last leaves fall in autumn.
After heavy storms, do a quick visual check for debris buildup, displaced sections, or visible damage. Catching problems early means simpler, cheaper repairs.
- Inspect and clean gutters at least twice yearly
- Check hangers and fasteners annually for looseness
- Reseal any joints showing signs of cracking before they fail completely
- Flush downspouts each season to confirm clear drainage
- Inspect flashing along the roofline after major storms
Using gutter guards, splash blocks, and extensions
Gutter guards reduce how often debris accumulates inside the channel, which directly reduces the risk of clogs, overflow, and standing water. Mesh and micro-mesh styles work well in most environments, though homes surrounded by pine trees need guards specifically designed for fine needle debris. Choosing the right gutter guard for pine needle environments makes a significant difference in how well the system performs year-round.
Splash blocks placed under downspout outlets prevent soil erosion and direct water away from the foundation. Downspout extensions add extra distance between the outlet and your home’s base, which is especially important on sloped lots.
Knowing when to repair vs. replace or call a professional
Repairs make sense when damage is isolated to specific sections, seams, or joints. If more than a third of your gutter system shows widespread rust, cracking, or separation from the fascia board, replacement is the more cost-effective long-term solution.
Call a professional when the damage involves the roofline, flashing, or structural fascia, since these repairs require roofing knowledge beyond basic gutter work. Persistent leaks that return after multiple repair attempts also signal that the underlying system design or installation has a fundamental problem worth having an expert evaluate.
Conclusion
Leaking gutters don’t fix themselves, and the longer they’re left unaddressed, the more expensive the downstream damage becomes. The process of stopping leaks for good comes down to accurate diagnosis, proper surface preparation, quality materials, and a maintenance routine that catches problems before they escalate.
Most homeowners can handle the majority of gutter repairs with basic tools and a few hours of focused work. The repairs covered here address the most common failure points and give your system the best chance of staying watertight through every season.
FAQ
What should I do first when I notice my gutters are leaking?
Start by identifying where the leak is coming from. Look for staining, drips, or overflow during rain, then do a dry visual inspection followed by a garden hose test. Knowing the exact location and type of leak tells you which repair approach to use and what materials to gather.
Can I fix leaking gutters myself, or do I need a professional?
Most common gutter leaks, including failed seams, small holes, clogged downspouts, and sagging sections, are well within DIY range. You need basic tools, the right sealant or patching materials, and a safe ladder setup. Professional help is worth considering when damage extends to the roofline, flashing, or fascia board, or when the same leak keeps returning despite repeated repairs.
How often should I clean and inspect my gutters to prevent leaks?
Twice per year is the standard recommendation for most homes. Increase that frequency if you have overhanging trees that drop leaves, seeds, or pine needles regularly. A quick inspection after major storms is also a smart habit that helps you catch displaced sections, new cracks, or debris buildup before it causes a leak.